Saturday, April 16, 2011

Everything BUT blog

I know you guys can relate..between working my day job, taking care of the fam, the house and furniture rehab I am wiped out at night!  So by the time I could blog, I  was just too tired. All of that changed today and we had a fun & relaxing day.

So this past week I finished a table that has been sitting in my dining room for weeks.


It's a pine table with great storage.

It's one of those 70's pieces. I don't have a before pic of it but it was stained that orangey color with black flecks - blech.  I painted it Dover white and lightly distressed it. I used Fiddes & Sons clear wax - that stuff is awesome.  It was so easy to buff. 

It was nice to sand that top down & appreciate the pretty wood..so satisfying.  If you want more details on this piece, it's for sale at SpringHouse Furniture.

Do you want to see a happy man?

We have a good sized yard and it can take hours to mow both front & back with a push mower. With this baby, it took Brian 35 min to mow both today!  It's weird what you find exciting as you get older...mowers, garage doors, paint chips...life has definitely changed.

Enjoy the rest of the weekend and we'll talk soon -

Monday, April 11, 2011

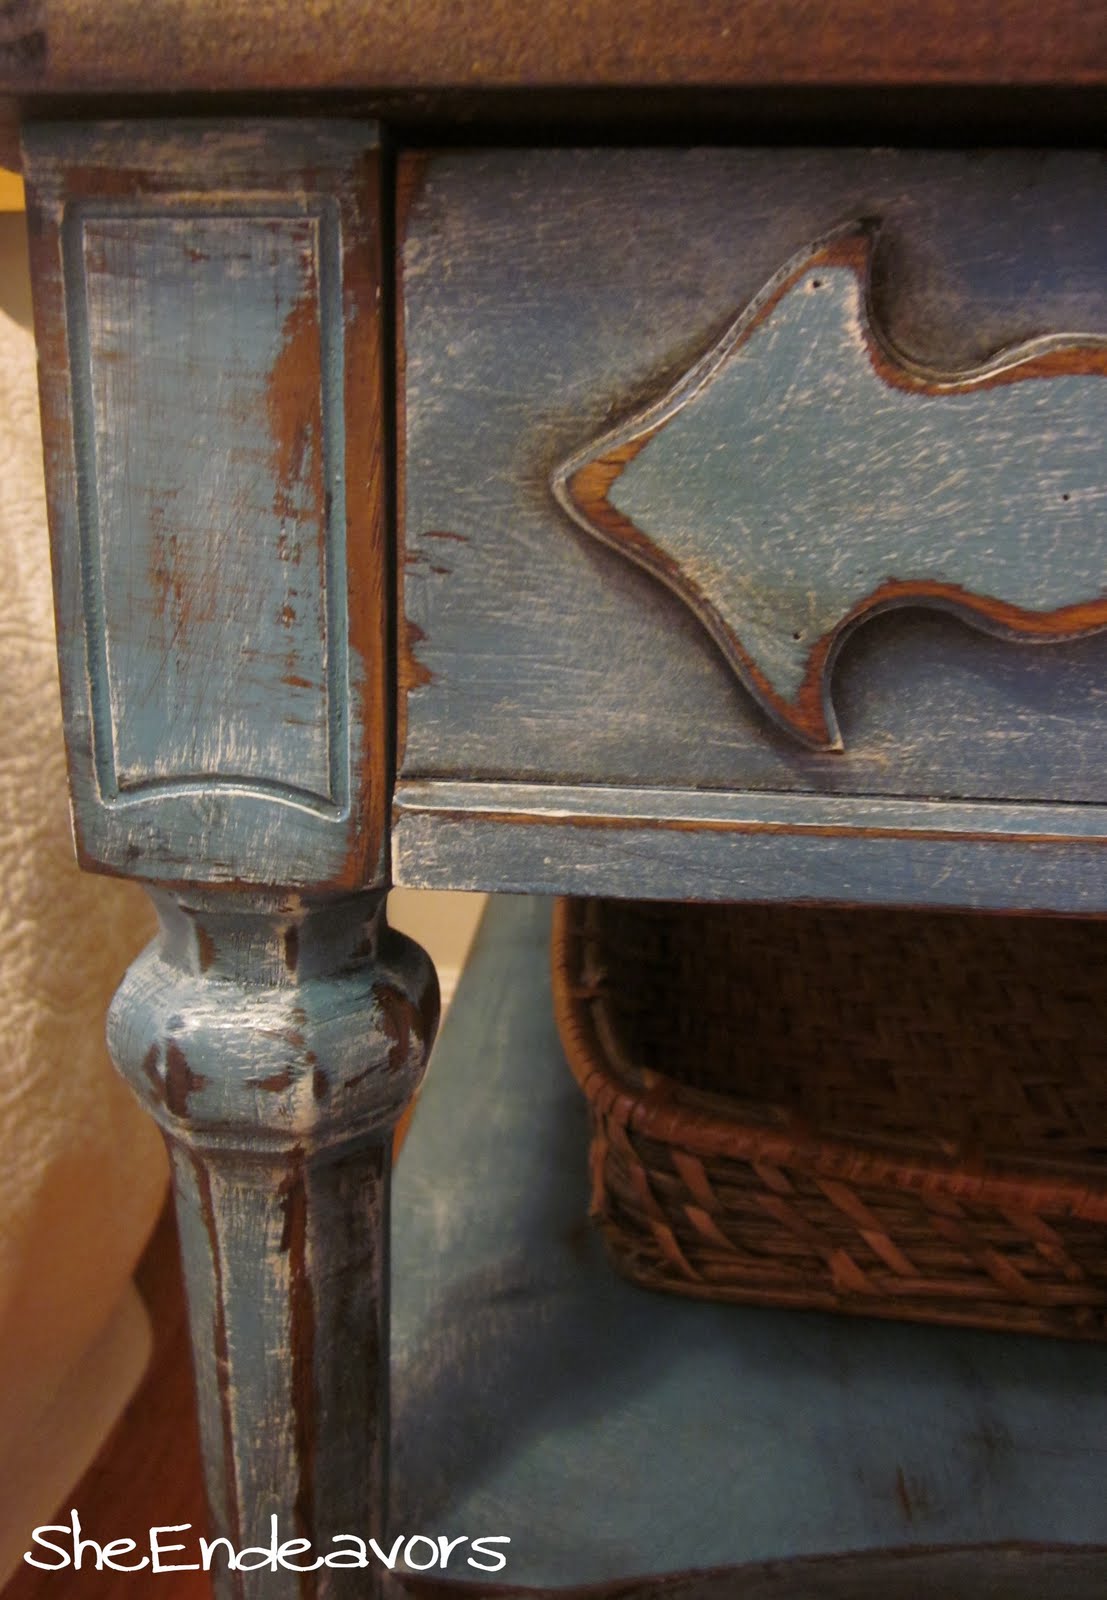
Peacock Blue Table

Geez what a weekend!  I worked my hiney off getting furniture ready to sell and it's taking me SO long to get it all posted.  I hope I get faster with practice.  I have this table posted here ready to go to a new home!

I had alot of fun painting this one...here is what the poor thing looked like when I brought it home..

 Gorgeous oak table in need of a makeover!
After:

I am really loving this color!

Here's the breakdown:

First a coat of Wipeout by Behr. I didn't want full coverage, so only one coat.


Then I dry brushed Dover White (remixed from Benjamin Moore) over it.

I drybrushed horizontally & vertically.

Before drybrushing...

After drybrushing.

Then I used my sanding block to distress it.  I glazed with Ebony by Minwax.  I've tried a lot of different glazes and I always go back to using Minwax stain.  I really like how you can manipulate it and get the exact look you want and IMHO you can't beat the colors.

Last step was to protect the finish with a coat of wax.  I wish I could keep this one but I can't, so it's up for sale!

I'm linking to the parties listed in my sidebar.

Talk to you soon!


Saturday, April 9, 2011

It's Official!!

We've officially started our business..SpringHouse Furniture Design & Finds! 

SpringHouseFurniture


The site is ready and I will keep a button linking to it on the side bar from now on.  I have been painting all day and will have a few things up for sale by tomorrow. It's a lot of work but I have to say I LOVE IT!!  In addition to selling furniture, I'm going to offer slipcovers but I have to figure out the logistics of it.  So if you're local and interested, then please let me know and we can work something out. 


Until we talk again..shine on!

Thursday, April 7, 2011

Peacock Blue Lamp

My brother lives in California and while I deal with stray cats and squirrels here in Georgia, he has peacocks strolling around his neighborhood!  We visited him last summer and had a wonderful time (duh, it's California!) and I totally fell in love with those peacocks and their beautiful colors.

I was looking for an accent color to add to the den and thought a toned down version of the peacock blue would be perfect.  Here is a lamp that I painted and set up today...


I love the shape of this lamp.  I couldn't find a before picture of it but it's just a plain old brass lamp.  I know most of you guys are the same way but I don't pay any attention to the color, fabric or anything like that when I'm out on the hunt. I look for shape..if I like the shape, then I can work with it. 

The color is called Wipeout by Behr & I glazed it with jacobean stain.

So this blue will be the pop of color in my otherwise neutral den.

I'm keeping it short today!  We're working some more on our garden this evening and I finally decided to put some flowers out. It's officially feeling like spring to me!!

I'm linking to parties in the sidebar...click away!

Talk to you later -

Wednesday, April 6, 2011

Curtains, A Pillow & Fabric Heaven

I've mentioned Fabric & Fringe a few times here lately.  I'm going to give you the low down on it today but first, I would like to show you what I've made from their fab-u-lous fabrics...

 Dining room curtains..

 I used swing rods over this window, so I didn't need full panels on both sides - they're just for show. 

 This fabric was $15 a yard.  I used 3 yards, cut it in half and lined each piece with a $5 flat sheet from Walmart that was also cut in half.

 
 I don't remember how much this was but I LOVED the peacock blue.  (I'm painting a table right now inspired by this blue.)  I made 2 pillows and trimmed them with brown pom-poms.
 
 I've shown these curtains before. They're in the den (and it's still a work in progress).  I lined them with drop cloths that I had left over from making slipcovers.

This is why I think Fabric & Fringe has an awesomeness problem...

 First..it's a pretty store from the outside..


  And it has a nice room to drop off uninterested parties that you brought with you....(the lighting in the store was terrible for pictures).


They sell jewelry reworked from vintage pieces.


And it has all of this:

 Tassels & tiebacks

All kinds of fabric in all colors...

Racks & racks of trim...


Cowhide anyone?

Loooooong aisles of fabric bolts

I have tons more pictures but like I said, the lighting was really bad and they don't do the store justice. If you are in North Georgia then go, go, GO!  It's a great resource and it's really inspiring to see all the colors and combinations  that you may not have considered.  

I'm off to finish painting my table & I have to bring chairs in from outside.  Did I tell you we've started a vegetable garden?  My first one!  If you have any tips on growing your own food, I'd love to hear it!

Talk to you soon -


Monday, April 4, 2011

The Green Hornet aka My Buffet

I love this buffet. It was a steal but needed some work. I knew right away that I wanted to paint it - Brian fought it. He was leaning more towards a full restoration of the mahogany. Since it didn't look that bad, we just put it in the dining room and used it.  We left it in it's "before" state for years...

Before:

We snagged this for $40.  It was really dark and I REALLY wanted to paint it. This is actually a good picture of it - the veneer was damaged & it was pretty beat up.  I was hoping Brian would change his mind about painting it and he did!!.....


After:
 Yeah..BIG change.  The heavy distressing brought out the details.

It took a lot of sanding to get through that hard finish.
(I don't have man hands, btw. That's Brian sanding)


The top was polished with 2 coats of wax.

 It's a bold look but it really works in this room especially with the curtains. The walls look bright on my monitor but they aren't scary green.


Token busted drawer.

Gorilla glue took care of it.

Dovetailed drawers are a beautiful thing.

      I know this look isn't for everyone but I looooove it.  

Just another view .

Like I said, it really works in my dining room and painting this piece means that the whole room is FINALLY finished!!  Now, I'm making some pillows and painting furniture like crazy (we're supposed to have a storm move in tonight and I gotta move quick).  Hope you all had a good Monday!

Talk to you soon -


I'm linking to Thrifty Decor Chick's Before & After & all the parties in my side bar.  Check them out and see a ton of other cool projects!!


Tip Junkie handmade projects

Sunday, April 3, 2011

Cleaning Old Bottles

Hey kids! I'm just wrapping up my weekend and wanted to pass along a little tip for cleaning those old dirty bottles that we love.

You may already know this but it was new to me. This method of cleaning them works like a charm on MOST bottles but it won't do anything for rust (diluted muriatic acid gets that out - it will also burn your face off - that's a whole other post).  Anyway...

I love their shape but it also makes them hard to clean with a brush.

Using these two will do the trick.

 Start with salt the more coarse the better...

add some dishwashing liquid & splash of warm water..

give it a good shake...then rinse

and enjoy your pretty bottles!

You may have to do the whole process a couple of times but it works really well for surface dirt. I finished a couple of pretty big projects this weekend and went to Fabric & Fringe again ( it was fab-u-lous!) I have pics to share of fabric heaven - so check back!

Linking up to  Making The World Cuter and Tip Junkie handmade projects.

Talk to you soon -


Related Posts Plugin for WordPress, Blogger...